
yay for firsts!
today i am posting my very first tutorial!
i do craft projects a lot, but never photograph them or think of posting them.
& today while i was reading on some blogs,
it occurred to me that I should do one of my own.
first its a big help when you are looking for a new craft or idea
and next it may bring some new readers to the blog.
now, i would really love to get the word out about
my little blog, but i dont want you to think that's all im about either.
as i told you before, i write my heart out even if i had no readers.
it's just me :)
without further rambling, let's get started.
i guess i call this Cheap Scrapbook Storage
(although, it doesn't have to be for scrapbooking things, it could be anything!)
very simple project!
Materials Used:
-an empty glass jar (i had 2 b/c i cleaned them outta the fridge)
-patterned paper (not really necessary)
-glue
-stickers, vinyl or whatever you want to label with.
Steps:
1. Find old glass jars, such as food jars, baby food, etc.
mine had salsa & cheese dip @ one time.

2. Wash the jars & try to get all as much of the paper & glue off that you can.

3. The original plan was to make these clear, but i hate that ugly glue
that i couldnt get off. but i didnt want to cover the
jars completely, because i love clear storage so i can see what im looking at.
so i covered only have the jar with double sided card stock.
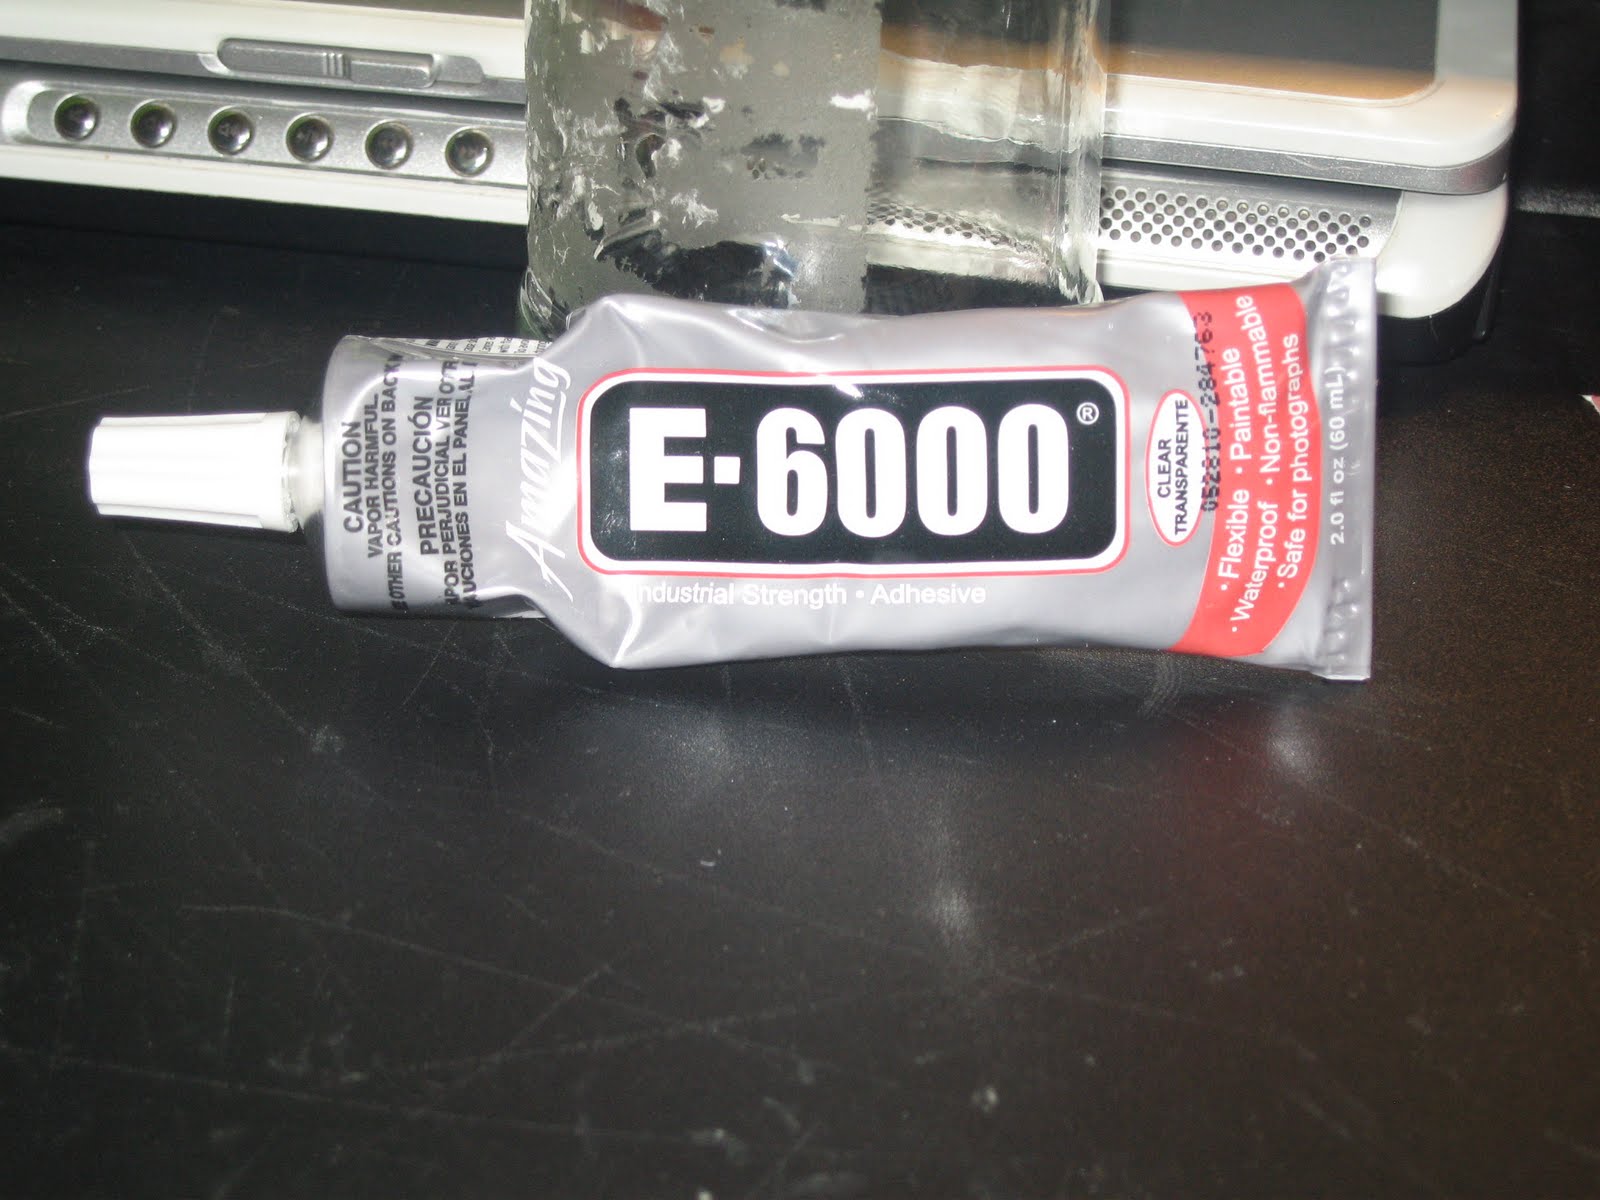
i adhered the card stock with E-6000 glue, amazing stuff.
but you can use mod podge, hot glue...etc.

So then looking at the jar it looked like this

And the side & back looked like this.
5. Next things is to make your label for your jar.
I cut out the word 'flowers' on the cricut in vinyl using the All Mixed Up Cartridge.

Put your stickers or vinyl on & then it will look something like this:

& i did my other jar

Added some ribbon & here are the finished projects:

that's it!
it probably doesn't get much simpler than that,
but i am very happy with them.
now im not crazy about the little salsa jar & how it says salsa on the lid
so you can cover it if you want but after i get a bigger craft table
or some more shelves, i plan to mount these babies.
mount the lids to the bottom, so you just have to twist the jar off
kinda like this....

haha... of course im just holding it up to my desk,
but you can just shoot a screw through the lid and there ya go :)
I hope you have enjoyed my simple storage tutorial.
Thanks for reading!
I appreciate any comments
:)
i'm linking up to:


:)
i'm linking up to:


First off... brilliant! As you might know I am re-doing my craft room and LOVE LOVE LOVE this idea. Second, take spray paint and spray paint those bad boys and you will never know it was salsa before it was a storage jar. Thank you so much for linking up to It's Stinkin' Cute Craft Thursday! I LOVE THEM!
ReplyDeleteAwesomely cute storage! Thanks for sharing at It's Party Time Thursday at PonyTails&FishScales!
ReplyDeleteLove your craftiness! I like to reuse jars, too! I hope you'll stop by my First Pretty Packages Party and share some of your fabulous talent!
ReplyDeleteJust pick up a button for an easy reminder!
www.blackberryvine.blogspot.com
Smiles!!
Goo Gone takes off all that gluey mess. Love the idea to mount them.
ReplyDeleteI’m having a new link party “Cheap Thrills Thursday” starting the 29th. It’s for creative ideas that cost under $20. If you have a project you’d like to share, I’d love for you to stop by and join in!
Kat
www.BlackKatsDesign.blogspot.com
Cute idea! I love the idea to screw it to the desk
ReplyDelete